Debian Installation
Debian can be installed using CD-Drive or USB stick. Once the BIOS detect the USB, you will get the various option for booting. For a normal installation, we can select "install" or "Graphical Install" and press ENTER. Before proceeding further, it is important to check that if your machine supports 32 bit only or 64 bit also.
32 Bit OS can be install in 64 bit OS, but not vice-versa. So, we will get error if we choose 64 bit installation in 32 bit OS. Normally, the modern computer are equipped with 64 bit processor. But, it is always better to check the version before we decide the installation.
Then choose the language to be used for the installation process. The selected language will also be the default language for the installed system. The next step consists of choosing the country.

Figure 1

Figure 2

Figure 3
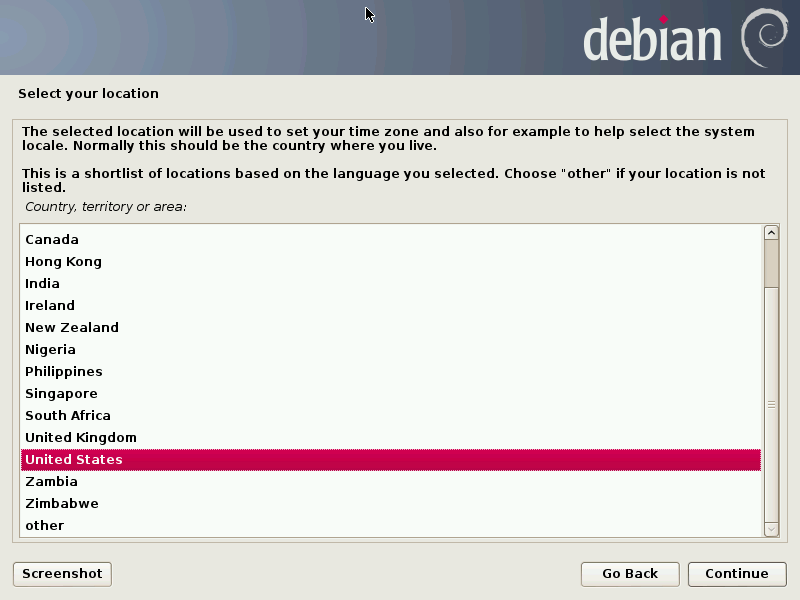
Figure 4
The keyboard layout can be chosen. In Germany, QWERTZ keyboard is used. In other countries it is different.

Figure 5

Figure 6
Then installed hardware is detected automatically. This may include the CD-Drives or other hardware. Then the components are loaded, the installer loads all the files necessary to continue the remaining process. Once, this process is finished, software for the network device is loaded. And in the next steps, the available network device is loaded. Then select the network device, if multiple options are available. Normally, Ethernet is more reliable in this case, if you have an Ethernet cable plugged. In order to automate the process, the installer tries to configure DHCP, where we don't have to manually give IP, gateway or subnet mask.
Then the clock is updated according to the NTP server if the network is available. In the next step, it will ask for the ROOT password followed by the username and password. The ROOT is the user with super-power like administrator in windows machine. So, this should be private and do not share with other people. Next, the standard user can be created and provide the password ( different from ROOT password). They are provided with minimum required rights, in order to limit the errors.

Figure 7
Next step tries to detect the hard drive where the Debian can be installed. It may be complicated for the new users because it needs extreme care and proper decision, otherwise, the hard disk may break or the data may be lost from disk. This is more complicated when there is another OS running and we want to keep both. Most of the time "guided " works fine for new users.

Figure 8


Figure 9
The next step is to set up the guided partition. It offers three partitioning methods. Among these 3 methods, the first option is suitable for new beginners.

Figure 10
The first method stores all the data in the single partition. That means the entire Linux system is stored in a single file system. in the second and third configuration, you will need little bit more technical knowledge. The last method is perfect for servers and multi-user system, where users have separated from the root and other files also. Then after selecting the type of partition, the user has the possibility to change the default suggestion. However, it is not mandatory and you can simply accept the decision. Then click on "Finish partitioning" and write the change to disk.
figure 11
Mount point refers to the root of the file system form where the Linux kernel will run. In other words, mount point can be defined as the directory to access the data stored in disk. If you want to test more about mount points use
- cat /etc/mtab
- df -h
In the next step, the base system install is done. It will install the dpkg and apt tools, which manage Debian package and also other utilities.
As we discussed earlier, Linux is package based system. So, there you will find often update. Then your Debian machine must know where to find the updated data and update the package. Then you can select the FTP for your nearest server. For example, I can choose ftp.de.debian.org for Germany or ftp.us.debian.org for the USA. Next step is setting up the proxy server address. Normally, this can be left blank, if you are not using HTTP proxy server.
In computer networks, a proxy server is a server (a computer system or an application) that acts as an intermediary for requests from clients seeking resources from other servers. -Wikipedia
Next comes the option to download the package for installation. Some options are pre-checked and other can be manually done. For example, if you choose to host web, the web server can be checked to host website. Also, if you want to enable SSH and configure the machine remotely then SSH server can be installed.

Figure 12
Installing the GRUB Bootloader ( GRand Unified Bootloader ) is the next step. If you don't have an idea what GRUB Bootloader is, click HERE. This detects if you have some pre-installed OS and try to configure then Debian boot loader with it. In simple language, the bootloader is the first program that runs from bios and loads the kernel into the memory, that in turns boot your device. Be careful not to mess with the bootloader, because it may make your system unusable by deleting bootloader file and prevent your system from starting up.
Now the installation is complete. Then remove your removable devices such as USB or CD/DVD Drive and restart the system.


Figure 13