Collabora online setup & integration with NextCloud
Collabora is a LibreOffice based online office suite with editing functions, which supports all the major office documents. Collabora Online supports dozens of document formats including DOC, DOCX, PPT, PPTX, XLS, XLSX + ODF, Import/View Visio, Publisher and many more...
There is an app in the Nextcloud store which integrates Collabora Online with the NextCloud. Before setting this app, the document server must be up and configured properly.
Requirements
- A host supporting Docker
- Minimum two domains ; one for nextcloud server and another for Collabora itself
- An Apache Server running with SSL compatibility
- Minimum two SSL certificates ; one for nextcloud server and another for Collabora itself. For this , you can use Let’s Encrypt .
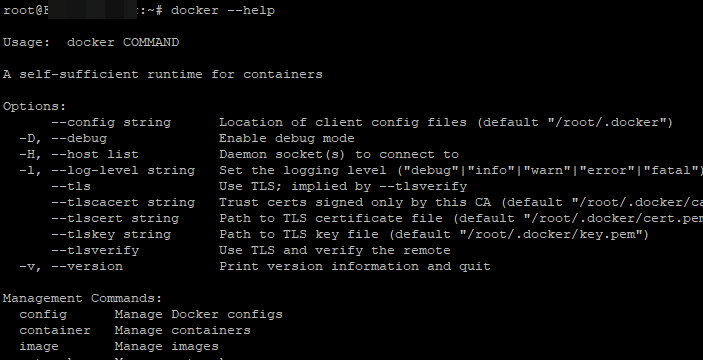
First, you should install Docker. I am using Debian 9, so apt install docker.io should be enough for Docker installation in Debian/Ubuntu distros.
Once the docker is installed, download the Collabora online docker. You need to explicitly provide the domain-name of NextCloud server from which you want to access the Collabora. This can be done by providing domain names using -e parameter.
docker pull collabora/code

docker run -t -d -p 0.0.0.0:9980:9980 -e 'domain=subdomain\\.domain\\.com|www\\.subdomain\\.domain\\.com' --restart always --cap-add MKNOD collabora/code
For example, the above command ( first) will pull the collabora. The second command will start Collabora online server, which will be only accesible via nextcloud.example1.com, nextcloud.example2.com and cloud.ABC-XYZ.com. Feel free to provide as many domain as you want.
| Docker is a set of coupled software-as-a-service and platform-as-a-service products that use operating-system-level virtualization to develop and deliver software in packages called containers. The software that hosts the containers is called Docker Engine. -Wikipedia For help, use docker --help in a terminal. |

Now the docker is up and running. It is time for the Reverse proxy. You can use Nginx too but I will be using Apache as the reverse Proxy. You should enable SSL and Proxy, if not done already. Run the following commands and restart apache service.
sudo a2enmod proxy
sudo a2enmod proxy_wstunnel
sudo a2enmod proxy_http
sudo a2enmod ssl
I have created two domains, one for Nextcloud and other for Collabora. The initial configuration is done already. Here I will show you only the reverse proxy configuration related to Collabora.
<IfModule mod_ssl.c>
<VirtualHost *:443>
   ServerName collabora.example.com
   Redirect permanent / https://www.collabora.example.com/


SSLCertificateFile /etc/letsencrypt/live/collabora.example.com/fullchain.pem
SSLCertificateKeyFile /etc/letsencrypt/live/collabora.example.com/privkey.pem
Include /etc/letsencrypt/options-ssl-apache.conf
</VirtualHost>
</IfModule>
<IfModule mod_ssl.c>
<VirtualHost *:443>
  ServerName collabora.example.com
  ServerAlias www.collabora.example.com
  Options -Indexes

  # SSL configuration, you may want to take the easy route instead and use Lets Encrypt!
  SSLEngine on

  SSLCertificateFile /etc/letsencrypt/live/collabora.example.com/fullchain.pem
  SSLCertificateKeyFile /etc/letsencrypt/live/collabora.example.com/privkey.pem
  Include /etc/letsencrypt/options-ssl-apache.conf

  SSLProtocol             all -SSLv2 -SSLv3
  SSLCipherSuite ECDHE-ECDSA-CHAHA:!DSS
  SSLHonorCipherOrder     on

  # Encoded slashes need to be allowed
  AllowEncodedSlashes NoDecode

  ErrorLog ${APACHE_LOG_DIR}/error.log
  CustomLog ${APACHE_LOG_DIR}/access.log combined

  # keep the host
  ProxyPreserveHost On

  SSLProxyEngine on
  SSLProxyVerify none
  SSLProxyCheckPeerCN off
  SSLProxyCheckPeerName off
  SSLProxyCheckPeerExpire off

  # static html, js, images, etc. served from loolwsd
  # loleaflet is the client part of Collabora Online
  ProxyPass           /loleaflet https://localhost:9980/loleaflet retry=0
  ProxyPassReverse    /loleaflet https://localhost:9980/loleaflet

  # WOPI discovery URL
  ProxyPass           /hosting/discovery https://localhost:9980/hosting/discovery retry=0
  ProxyPassReverse    /hosting/discovery https://localhost:9980/hosting/discovery

  # Capabilities
  ProxyPass           /hosting/capabilities https://localhost:9980/hosting/capabilities retry=0
  ProxyPassReverse    /hosting/capabilities https://localhost:9980/hosting/capabilities

  # Main websocket
  ProxyPassMatch "/lool/(.*)/ws$" wss://localhost:9980/lool/$1/ws nocanon

  # Admin Console websocket
  ProxyPass   /lool/adminws wss://localhost:9980/lool/adminws

  # Download as, Fullscreen presentation and Image upload operations
  ProxyPass           /lool https://localhost:9980/lool
  ProxyPassReverse    /lool https://localhost:9980/lool
</VirtualHost>
</IfModule>
You can download this configuration and compare with yours, from here : https://bit.ly/2YSs9j3
Now with the assumption that your Nextcloud is using SSL and up already, I will move to the next step.
As a Nextcloud Admin,

As you can see, you can only share the app with certain groups. Furthermore, you may specify that only certain groups may edit documents. That is also a sensible option. If you use the solution in an environment that works by default with